swiftUI笔记之async&await实践MVVM网络请求
实践
我们来实践一下使用MVVM模式,并使用async await进行网络请求。
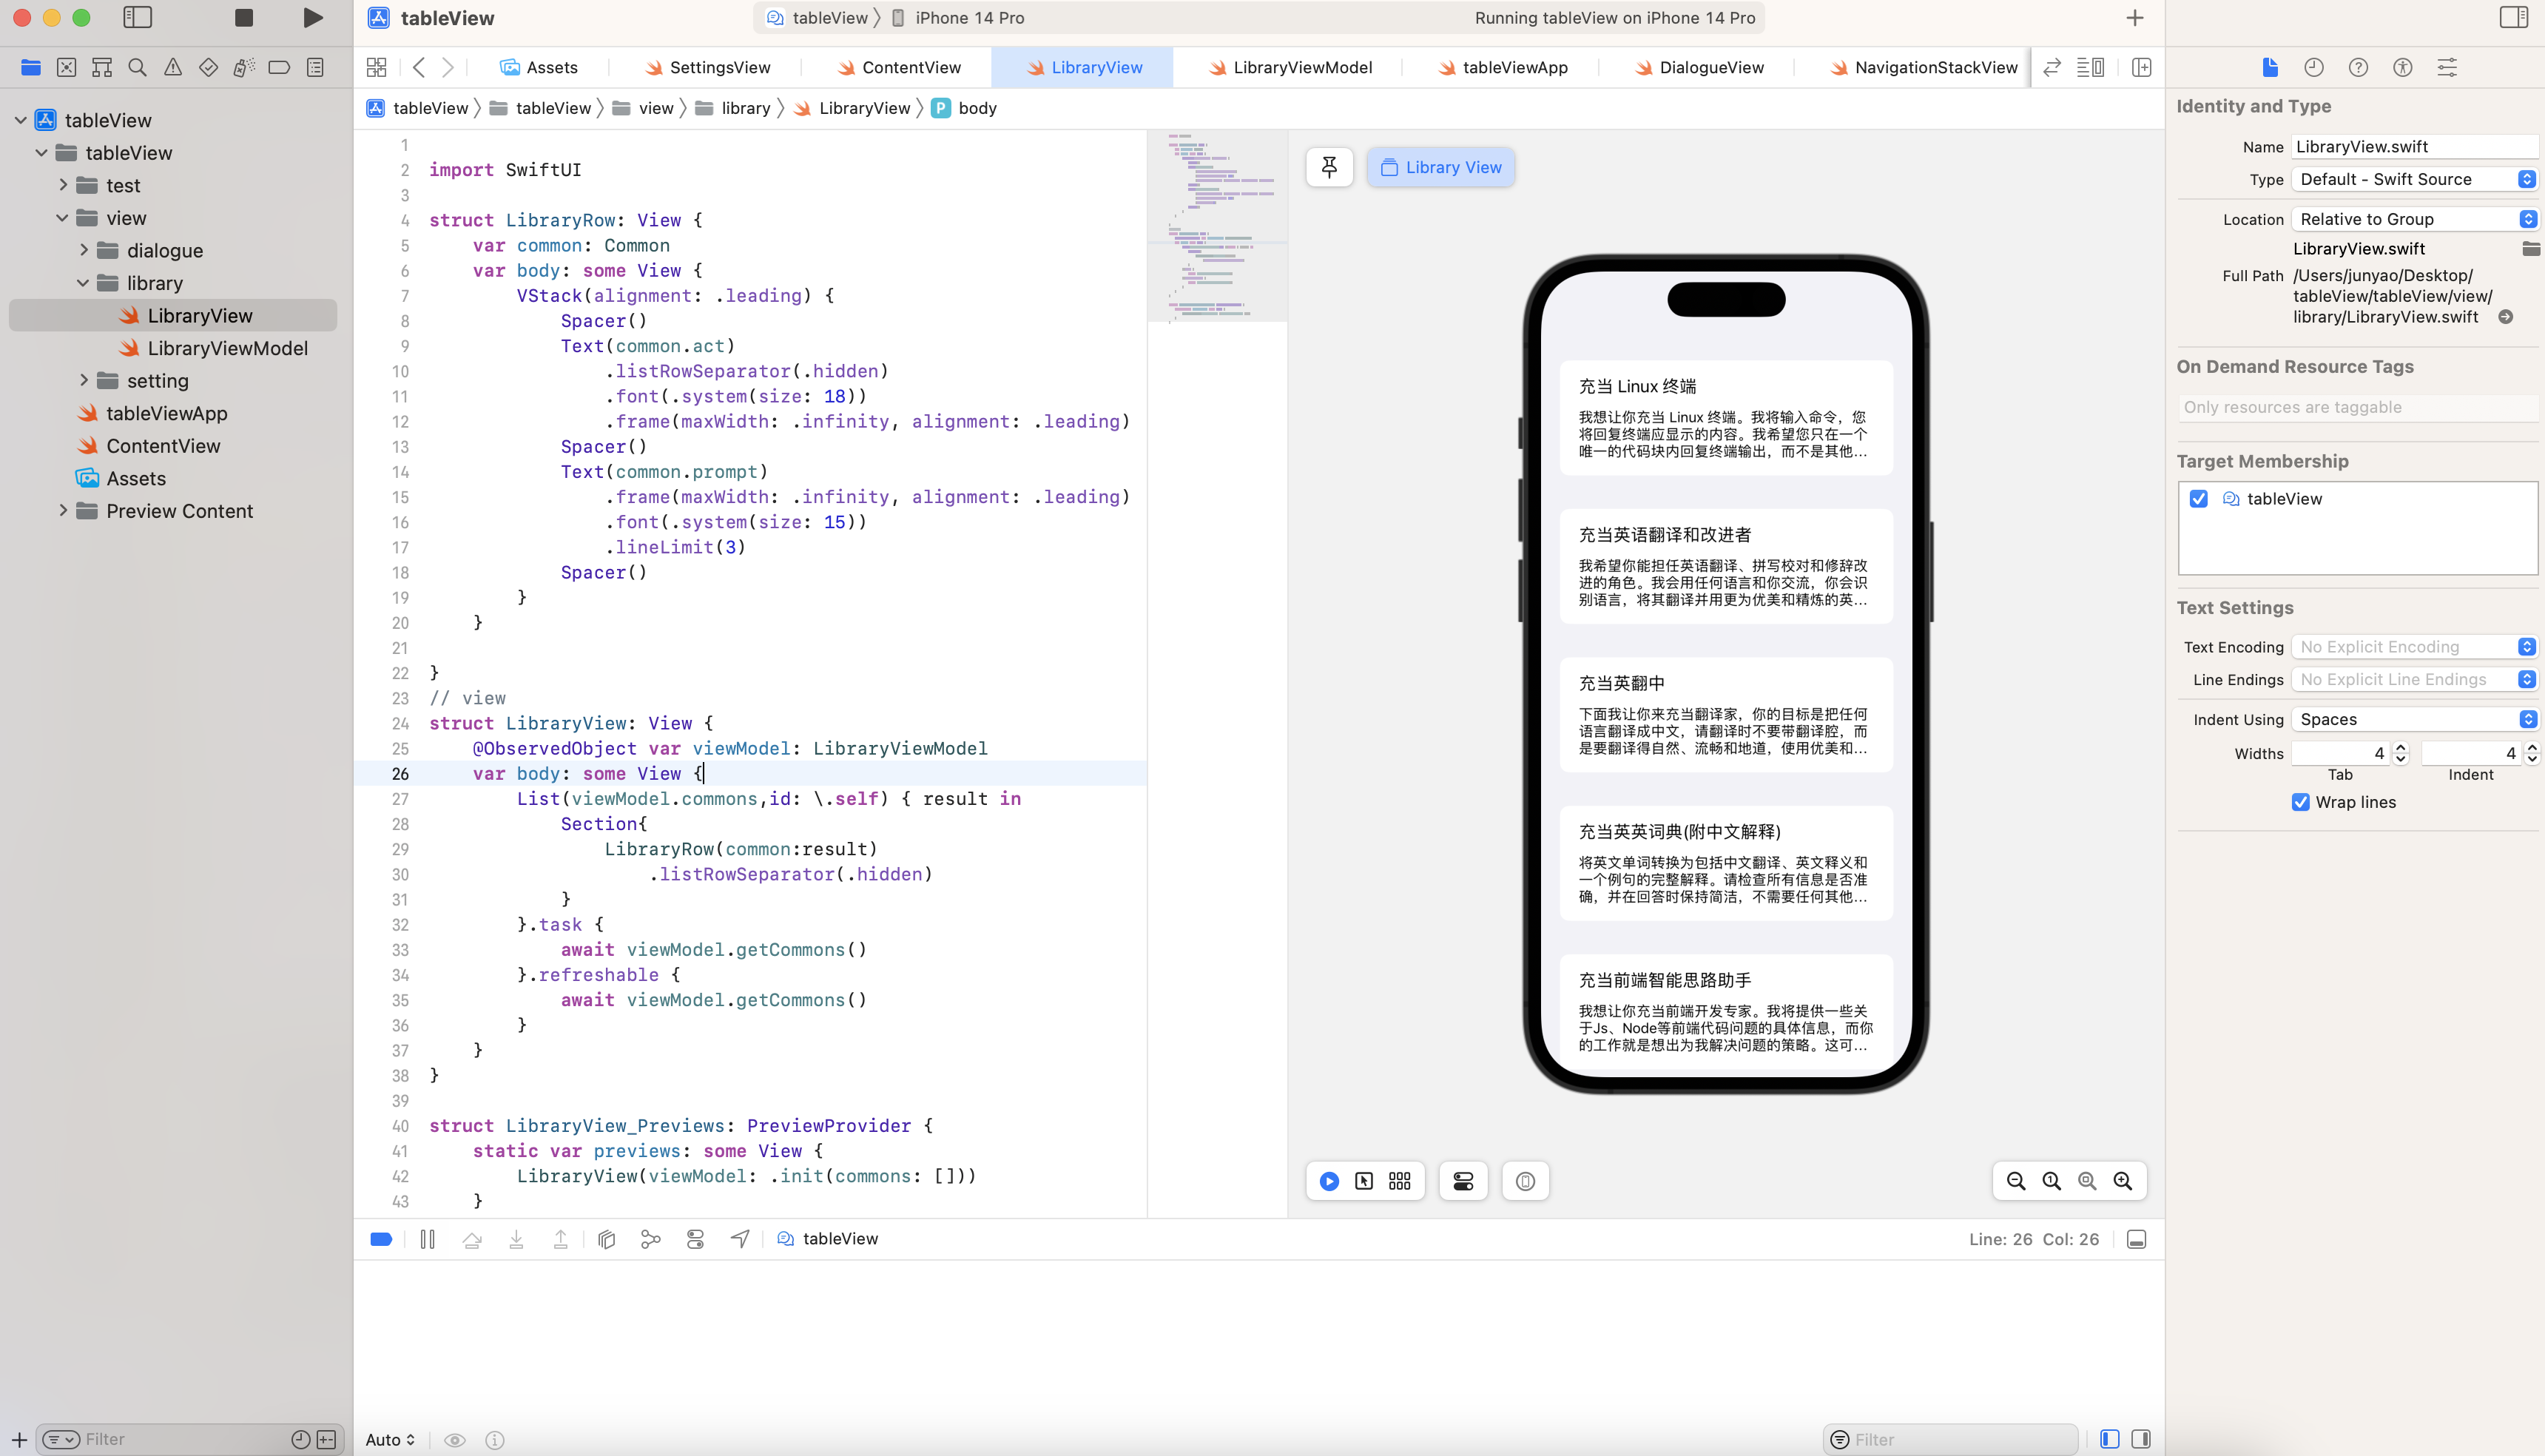
Library.swift
1 | import Foundation |
LibraryViewModel.swift
1 | import Foundation |
LibraryView.swift
1 | import SwiftUI |
LibraryDetailView.swift
1 |
|
我们来实践一下使用MVVM模式,并使用async await进行网络请求。
Library.swift
1 | import Foundation |
LibraryViewModel.swift
1 | import Foundation |
LibraryView.swift
1 | import SwiftUI |
LibraryDetailView.swift
1 |
|

我们以暗黑模式的适配来实践EnvironmentObject
定义AppSetting,设置 @Published var darkModeSettings
1 | class AppSetting: ObservableObject { |
传入 .environmentObject(AppSetting())
1 | @main |
使用@EnvironmentObject
1 |
|
@StateObject 修饰的对象与 @ObservedObject 一样,都需要遵循 Observable 协议,功能也类似。区别在于,@StateObject 修饰的对象只会在所属的 View 中创建一次并在 View 的生命周期内存储相应的状态,而 @ObservedObject 修饰的对象会随着 View 的重绘生成新的对象,不会在 View 的生命周期内存储该对象的状态。
1 | import SwiftUI |
如上代码所示,当我们点击 CounterView1 和 CounterView2 中的按钮时,会给相应的 Counter 实例的 count 属性加 1,一旦我们点击 “Append item to list” 按钮,View 会执行重绘,这时 CounterView2 中的 count 会重置为 0,而 CounterView1 中使用 @StateObject 修饰的对象中的 count 仍然持有当前的数据状态。
那么我们应该在什么场景下分别使用这两个属性包装器呢?
在 View 的生命周期内,需要一直持有并存储对象的状态时,使用 @StateObject 修饰。基本上,绝大多数情况下的 viewModel 都会是这种情况。
只有在少数情况下,View 不需要一直持有该对象,该对象的状态会随着外界的条件改变而刷新自己时,我们才用到 @ObservedObject 修饰,比如上面的例子,如果我们要求点击 “Append item to list” 按钮时,count 就重置,就需要用 @ObservedObject 修饰了。

1 |
|
1 | // |
Stable Diffusion Web Ui安装过程中会默认下载Stable Diffusion v1.5模型,名称为v1-5-pruned-emaonly。如果想用最新的Stable Diffusion v2.1,可以从Hugging Face上下载官方版本stabilityai/stable-diffusion-2-1。下载后将模型复制到models目录下的Stable-diffusion目录即可。完成后点击页面左上角的刷新按钮,即可在模型下拉列表中看到新加入的模型。
除了标准模型外,Stable Diffusion还有其他几种类型的模型,models目录下每一个子目录就是一种类型的模型,其中用的最多的是LoRA模型。
我们来实践几个模型
v1-5-pruned-emaonly.ckpt
Stable Diffusion基础大模型,原则上所有其他大模型都在这个模型基础上再微调出来的
chilloutmix_NiPrunedFp32Fix.safetensors
AI真人基础模型,一般搭配LoRA小模型
Anything、Waifu、novelai、Counterfeit
二次元漫画型
LoRA(Low-Rank Adaptation)模型是小型稳定扩散模型,可对标准模型进行微调。它通常比标准模型小10-100倍,这使得LoRA模型在文件大小和训练效果之间取得了很好平衡。LoRA无法单独使用,需要跟标准模型配合使用,这种组合使用方式也为Stable Diffusion带来了强大的灵活性。
下面我们使用 chilloutmix大模型 + LoRA的微调小模型koreanDollLikeness来试试
LoRA模型下载后需要放到Lora目录中,使用时在提示中加入LoRA语法,语法格式如下:
1 | <lora:filename:multiplier> |
filename是LoRA模型的文件名(不带文件后缀)
multiplier是LoRA 模型的权重,默认值为1,将其设置为 0 将禁用该模型。
Prompt
选择好模型后,我们开始设计prompt。首先我们引入LoRA
1 | <lora:koreanDollLikeness:0.66> |
然后定义生成图片的风格,我们希望超写实风,可以用如下关键词:
1 | best quality, ultra high res, (photorealistic:1.4) |
其中photorealistic我们赋予较高的权重1.4。
接着来定义图片的主体内容,这里我将希望图片中出现的元素都做个权重增强:
1 | 1girl, thighhighs, ((school uniform)),((pleated skirt)), ((black stockings)), (full body), (Kpop idol), (platinum blonde hair:1), ((puffy eyes)) |
最后,修饰一些表情、姿势的细节:
1 | smiling, solo focus, looking at viewer, facing front |
这样我们完整的promt是:
1 | <lora:koreanDollLikeness:0.66>, best quality, ultra high res, (photorealistic:1.4), 1girl, thighhighs, ((school uniform)),((pleated skirt)), ((black stockings)), (full body), (Kpop idol), (platinum blonde hair:1), ((puffy eyes)), smiling, solo focus, looking at viewer, facing front |
Negative prompt
我们还需要提供Negative prompt去除我们不想要的风格和元素:
1 | paintings, sketches, (worst quality:2), (low quality:2), (normal quality:2), lowres, normal quality, ((monochrome)), ((grayscale)), skin spots, acnes, skin blemishes, age spot, glan |
这里主要剔除了绘画风、简笔画、低质量、灰度图,同时去除雀斑、痤疮等皮肤瑕疵。
参数设置
为了让图片生成得更加真实自然,我们需要对参数做一些调整,需要调整的参数如下:
Sampler: DPM++ SDE Karras
Sample Steps: 28
CFG scale: 8
Size: 512×768

Q1:SD:2.1安装报错
1 | NansException: A tensor with all NaNs was produced in VAE. This could be because there's not enough precision to represent the picture. Try adding --no-half-vae commandline argument to fix this. |
解决
1 | Settings > Stable Diffusion > Enable option "Upcast cross attention layer to float32" (at Stable Diffusion localhost server). |

1 | // |
完整实践
1 | import SwiftUI |
onDelete & onMove
1 | .onDelete(perform: deleteRow) |
ContextMenu
1 | .contextMenu { |
1 | //删除的方法 |
ActionSheets
1 | .contextMenu { |
1 | .actionSheet(isPresented: self.$showActionSheet) { |
在 SwiftUI 中,如果你要使用列表(List)或者集合视图(CollectionView),你需要使用 Identifiable 协议来确保每个元素都具有唯一的标识符。如果你的数据类型本身已经有了唯一标识符(比如一个唯一的 ID 字段),那么可以通过让该数据类型遵循 Identifiable 协议并实现 id 属性来实现。
1 | struct Person: Identifiable { |
然后,在你的列表或者集合视图中,你可以像这样使用它:
1 | struct ContentView: View { |
这里的 List 会自动使用 id 属性来确定每个元素的唯一性,所以你不需要手动指定标识符。
如果你的数据类型没有唯一标识符,你也可以使用一个自动生成的标识符。在这种情况下,你可以使用 id() 函数来为每个元素生成一个唯一的标识符。例如:
1 | struct Person { |
这里的 id: .self 会告诉 SwiftUI 使用每个元素本身作为标识符。
Photo Realistic 高清照片风格
1 | raw photo, photorealistic, masterpiece, best quality, hires, intricate details, reflections, photographed on a Canon EOS R5, 50mm lens, F/2.8, HDR, 8k resolution, ray-tracing, |
Negative Prompt for Beauty
1 | EasyNegative, bad_prompt_version2, bad-hands-5, ng_deepnegative_v1_75t, (watermark:1.6), (text:1.4), (worst quality:2), (low quality:2), (normal quality:2), lowres, normal quality, ((monochrome)), ((grayscale)), skin spots, acnes, skin blemishes, age spot, (outdoor:1.6), manboobs, backlight,(ugly:1.331), (duplicate:1.331), (morbid:1.21), (mutilated:1.21), (tranny:1.331), mutated hands, (poorly drawn hands:1.331), blurry, (bad anatomy:1.21), (bad proportions:1.331), extra limbs, (disfigured:1.331), (more than 2 nipples:1.331), (missing arms:1.331), (extra legs:1.331), (fused fingers:1.61051), (too many fingers:1.61051), (unclear eyes:1.331), bad hands, missing fingers, extra digit, (futa:1.1), bad body, pubic hair, glans, (nipples:1.4), (nsfw:1.4), (nude:1.6),nsfw, |
Style 风格
| Style | Description | Style | Description |
|——————-|————-|—————–|————-|
| artbook | 原画 | game_cg | 游戏CG |
| tachi-e | 立绘样式 | comic | 漫画 |
| dakimakura | 抱枕 | cosplay | 角色扮演 |
| photo | 照片 | personification | 拟人 |
| realistic | 现实 | sketch | 素描 |
| traditional_media | 手绘 | sketch | 手绘 |
|————————|————-|———————|————-|
| Bloom | 开花;绽放 | God rays | 神光;天光 |
| Hard shadows | 硬阴影 | Studio lighting | 工作室照明 |
| Soft lighting | 柔和照明;柔光 | Diffused lighting | 散射照明;漫射光 |
| Rim lighting | 边缘照明;边缘光 | Volumetric lighting | 体积照明 |
| Specular lighting | 镜面照明;高光 | Cinematic lighting | 电影照明 |
| Luminescence | 发光;自发光 | Translucency | 半透明性 |
| Subsurface scattering | 亚表面散射 | Global illumination | 全局照明 |
| Indirect light | 间接光 | Radiant light rays | 辐射光线 |
| Bioluminescent details | 生物发光细节 | Ektachrome | 依可透 |
| Glowing | 发光的 | Shimmering light | 闪闪发光的光 |
| Halo | 暈;光圈 | Iridescent | 彩虹色的;虹彩般的 |
| Backlighting | 背光;逆光 | Caustics | 光照色彩变化效应 |
|——————–|————-|——————–|————-|
| multicolored hair | 多彩的头发 | hime cut | 姬发式 |
| ahoge | 呆毛 | braid | 辫子 |
| asymmetrical hair | 半边刘海 | french braid | 法式辫 |
| blunt bangs | 齐刘海 | braided ponytail | 编织马尾辫 |
| parted bangs | 分开的刘海 | hair intakes | 进气口发型 |
| side swept bangs | 朝一个方向的刘海 | hair behind ear | 耳后发 |
| curtained hair | 窗帘式发型 | hair over shoulder | 披肩发 |
| colored inner hair | 内侧颜色 | hair bun | 团子头 |
| streaked hair | 条染 | double bun | 双团子头 |
|————–|————-|—————–|————-|
| light smile | 微笑 | seductive smile | 诱惑笑 |
| grin | 露齿而笑 | laughing | 笑 |
| excited | 兴奋 | smirk | 微笑 |
| smug | 得意 屑 | embarrassed | 害羞 |
| shy | 害羞 | blush | 脸红 |
| sad | 悲伤的 | pout | 别扭 努嘴 |
| sigh | 叹气 | angry | 生气 |
| annoyed | 苦恼的 | frown | 皱眉/蹙额 |
| wide eyed | 睁大眼睛 | jitome | 鄙夷的眼神 |
| serious | 严肃 | smirk | 认真 |
| scowl | 锐利 | crazy | 疯狂的 |
| dark_persona | 黑化的 | naughty_face | 下流的表情 |
| endured_face | 忍耐的表情 | ahegao | 阿黑颜 |
|————————-|————–|———————-|————-|
| side-tie bikini bottom | 系带比基尼裤 | detached collar | 分离式衣领,只有衣领 |
| front-tie bikini top | 系带比基尼上衣 | cuffs | 袖口 |
| frilled bikini | 褶边比基尼 | midriff | 露腰上衣 |
| string bikini | 细带比基尼 | crop top | 露腰上衣 |
| highleg bikini | 高腰比基尼 | clothing cutout | 剪切过的衣服 |
| o-ring bikini | 有环的比基尼 | breast curtains | 胸帘 |
| sling bikini | 吊带比基尼 | versus bikini | 宝石比基尼 |
| mismatched bikini | 不太懂 | collared shirt | 带领衬衫 |
| revealing clothes | 暴露的衣服 | vest | 马甲背心 |
| see-through | 半透明衣服 | puffy sleeves | 蓬松袖子 |
| garter straps | 吊带袜 | peaked cap | 宽檐帽 |
| cheerleader | 啦啦队 | pelvic curtain | 骨盆帘 |
| pleated skirt | 百褶裙 | halter shirt | 吊带衬衫 |
| suspender skirt | 吊带裙 | ribbed sweater | 罗纹毛衣 |
| leotard | 连体紧身衣 | bodysuit | 连体紧身衣 |
| tank top | 汗衫 | torn clothes | 撕破的衣服 |
| taut clothes | 绷紧的衣服 | impossible clothes | 不可能的衣服 |
| string panties | 细绳内裤 | pantyhose | 连裤袜 |
| panties under pantyhose | 连裤袜下内裤 | competition swimsuit | 竞泳 |
| undersized clothes | 过小的衣服 | cropped jacket | 短外套 |
| plugsuit | 插入服,eva那种紧身衣 | crotchless panties | 开裆内裤 |
| legwear | 腿上一切 | serafuku | 水手服 |
| sailor collar | 水手领 | kimono | 和服 |
| yukata | 浴衣 | japanese clothes | 日式服装 |
| sports bra | 运动上衣 | bike shorts | 骑行裤 |
| lolita fashion | Lolita衣服 | race queen | 赛车女郎 |
| skindentation | 贴身的? | raglan sleeves | 连肩衣袖 |
| sleeves past fingers | 手指过长的袖子 | sleeves past wrist | 手腕过长的袖子 |
| bunnysuit | 兔女郎 | reverse bunnysuit | 逆兔女郎 |
| reverse outfit | 逆着穿的衣服 | straitjacket | 拘束衣 |
| sleeve skirts | 袖裙 | covered nipples | 凸激 |
| Accessory | Description | Accessory | Description |
|---|---|---|---|
| tassel | 流苏 | wristband | 腕带 |
| epaulettes | 肩章 | spaghetti strap | 细肩带 |
| ascot | 宽领带 | bridal gauntlets | 长手套 |
| trim | 包边 | criss-cross halter | 交错绕颈系带 |
| bowtie | 蝴蝶结领带 | halterneck | 绕颈系带 |
| neck ribbon | 系带领 | harness | 背带,挽具 |
| lapels | 翻领 | corset | 束腰 |
| frills | 荷叶边 | underbust | 束腰 |
| buckle | 扣带 | necklace | 项链 |
| belt buckle | 皮带扣 | sailor collar | 水手领 |
| chest harness | 胸带 | hairband | 发带 |
| suspenders | 肩吊带 | vambraces | 护腕 |
| lace-trimmed | 蕾丝边 | elbow gloves | 肘部手套 |
| veil | 面纱 | interface headset | 明日香头上那个角 |
| tinted eyewear | 有色眼镜 | chest jewel | 胸前珠宝 |
| pocket watch | 怀表 | tiara | 头冠 |
| hachimaki | 钵卷,日式头带 | fake animal ears | 假动物耳朵 |
| headgear | 头上机器 | hat bow | 帽子蝴蝶结 |
| sweatdrop | 汗珠 | pompom(clothes) | 衣服上的毛球 |
| water drop | 水滴 | pompom(cheerleading) | 啦啦队彩球 |
| falling petals | 掉落的花瓣 | neck ring | 颈环 |
| wrist cuffs | 手腕袖口 | stitches | 缝线 |
| chain | 锁链 | visor cap | 游客帽 |
| o-ring | 圆环装饰 | scrunchie | 发圈束 |
| oni horns | 鬼角 | surgical mask | 医用口罩 |
| mouth mask | 口罩 | | |
|——————–|————–|———————|————-|
| leaning forward | 前倾 | undressing | 脱衣服 |
| fetal position | 婴儿姿势(侧躺手脚曲着) | against wall | 靠墙 |
| on_stomach | 趴着 | squatting | 蹲下 |
| lying | 躺着 | sitting | 坐 |
| seiza | 正坐 | wariza/w-sitting | 割坐 |
| yokozuwari | 侧身坐 | indian_style | 盘腿 |
| leg_hug | 抱腿 | walking | 走 |
| running | 跑 | straddle | 跨坐 |
| straddling | 跨立 | kneeling | 下跪 |
| smoking | 抽烟 | arm_support | 用手支撑住 |
| caramelldansen | niconiconi | princess_carry | 公主抱 |
| fighting_stance | 战斗姿态 | upside-down | 颠倒的 |
| top-down_bottom-up | 趴着翘臀 | bent_over | 翘臀姿势 |
| all_fours | 四肢趴地 | arched_back | 弓身体 |
| back-to-back | 背对背 | symmetricalhandpose | 手对手 |
| eye_contact | 眼对眼(对视) | symmetrical_docking | 2女胸部贴在一起 |
| hug | 拥抱 | lap_pillow | 膝枕 |
| sleeping | 睡觉 | bathing | 洗澡 |
| mimikaki | 掏耳勺 | holding_hands | 牵手 |
Head 头
| Head Pose | Description | Head Pose | Description |
|---|---|---|---|
| head tilt | 歪头 | turning around | 回头 |
| looking back | 回头看 | looking down | 向下看 |
| looking up | 向上看 | smelling | 闻 |
Hand/Arm 手/手臂
| Hand Pose | Description | Hand Pose | Description |
|——————-|————-|———————–|————-|
| handtomouth | 手放在嘴边 | arms_crossed | 手交叉于胸前 |
| arm at side | 手放头旁边 | hand on hip | 手放臀 |
| arms behind head | 手放脑后 | hand on another’s hip | |
| arms behind back | 手放后面 | handonhip | 单手插腰 |
| hand on own chest | 手放在自己的胸前 | handsonhips | 双手叉腰 |
| arms up/hands up | 举手 | stretch | 伸懒腰 |
| armpits | 举手露腋 | leg hold | 手把腿抓着 |
| grabbing | 抓住 | holding | 拿着 |
| fingersmile | 用手指做出笑脸 | skirt lift | 掀起裙子 |
| shirt lift | 掀起上衣 | adjusting_thighhigh | 调整过膝袜 |
| hair_pull | 拉头发 | hair scrunchie | 撮头发 |
| Gestures | Description | Gestures | Description |
|---|---|---|---|
| v/peace_symbol | ✌ | thumbs_up | 翘大拇指 |
| middle_finger | 比出中指 | cat_pose | 猫爪手势 |
| finger_gun | 手枪手势 | shushing | 嘘手势 |
| waving | 招手 | salute | 敬礼 |
| spread_arms | 张手 | | |
| Leg Pose | Description | Leg Pose | Description |
|---|---|---|---|
| spread legs | 张开腿 | crossed legs | 二郎腿 |
| fetal position | 曲腿至胸 | leg lift | 抬一只脚 |
| legs up | 抬两只脚 |
General 总体
| Environment | Description | Environment | Description |
|---|---|---|---|
| cityscape | 城市风景 | landscape | 风景 |
| indoors | 室内 | outdoors | 室外 |
Color/Tone 色调
| Color/Tone | Description | Color/Tone | Description |
|---|---|---|---|
| light | 明 | shade | 阴凉处 |
| dark | 暗 | deep | 浓 |
| pale | 薄 | grey background | 背景颜色(灰) |
Weather 天气
| Environment | Description | Environment | Description |
|———————-|————-|—————————|————-|
| golden hour lighting | 黄金时段照明 | in the rain | 雨中 |
| strong rim light | 强边缘光 | rainy days | 雨天 |
| night | 晚上 | sunset | 日落 |
| intense shadows | 强阴影 | cloudy | 多云 |
| full moon | 满月 | against backlight at dusk | 傍晚背对阳光 |
Indoor 室内
| Environment | Description | Environment | Description |
|---|---|---|---|
| mirror | 反射 | curtains | 窗帘 |
| on bed | 床上 | on floor (wooden floor) | 地板上 |
| on carpet | 在地毯上 | on yoga mats | 在瑜伽垫上 |
| chair | 椅子 | magic circle | 魔法阵 |
| poker table | 赌桌 |
Outdoor 室外
| Environment | Description | Environment | Description |
|————————————————–|————-|———————————————–|————-|
| mountain | 山 | ocean | 大海 |
| on a hill | 山上 | over the sea | 海边上 |
| the top of the hill | 山顶 | beautiful purple sunset at beach in the ocean | 海边日落 |
| beautiful detailed sky, beautiful detailed water | 好天好水 | sunset | 落日 |
| on the beach | 海滩上 | on the ocean | 在大海上 |
| meadow | 草地 | plateau | 高原 |
| desert | 沙漠 | | |
Plant 植被
| Environment | Description | Environment | Description |
|---|---|---|---|
| flower | 花 | falling petals | 落花 |
| petal | 花瓣 | cherry_blossoms | 樱花 |
| rose | 玫瑰 | forest | 森林/树 |
| rose petals | 玫瑰花瓣 | pink four petal flower | 粉色四瓣花 |
Building 建筑
| Environment | Description | Environment | Description |
|—————————–|————-|———————————————————-|————-|
| in the baroque architecture | 巴洛克建筑 | in the romanesque architecture streets | 罗马街道 |
| in the palace | 宫廷 | at the castle | 城外为背景 |
| in the castle | 城内为背景 | in the street | 在街上 |
| in the cyberpunk city | 赛博朋克 | rainy night in a cyberpunk city with glowing neon lights | 赛博朋克雨天霓虹灯 |
| at the lighthouse | 灯塔 | onsen | 温泉 |
| by the moon | 月亮边 | in a bar, in bars | 酒吧 |
| in a tavern | 居酒屋 | Japanese arch | 鸟居 |
| church | 教堂 | in a locker room | 上锁房间里 |
| cityspace | 城市风光式 | power lines | 电力线 |
| building | 建筑 | ruins | 废墟/遗迹 |
Circle 方法允许您绘制完美的圆形。圆形的直径等于宽度和高度之间较小的数字
1 | Circle() |
Ellipse 就像一个圆,但没有完美的纵横比 1:1。当宽度和高度不同时,它会填满空间并扭曲自己。
Ellipse()
.stroke(Color.black, lineWidth: 2)
.frame(width: 44, height: 88)
虽然 SwiftUI 中的大多数元素(例如 stacks 堆栈、颜色、渐变)都以矩形的形式,但它们不是形状。 Rectangle 具有 shape 属性,你可以进行描边或用作蒙版的用途。
1 | Rectangle() |
RoundedRectangle(圆角矩形) 有 cornerRadius(圆角) 和 style(样式)属性。它非常适合创建按钮、卡片,看起来更美观和圆滑。
1 | RoundedRectangle(cornerRadius: 30, style: .continuous) |
与 RoundedRectangle 类似,Capsule 类似胶囊的形状。胶囊的每一端都由一个半圆组成。您可以将它们用于按钮的绘制。
1 | Capsule() |

1 | import SwiftUI |


